1970 Ampeg
Gemini-22 Restoration Project
Page 4
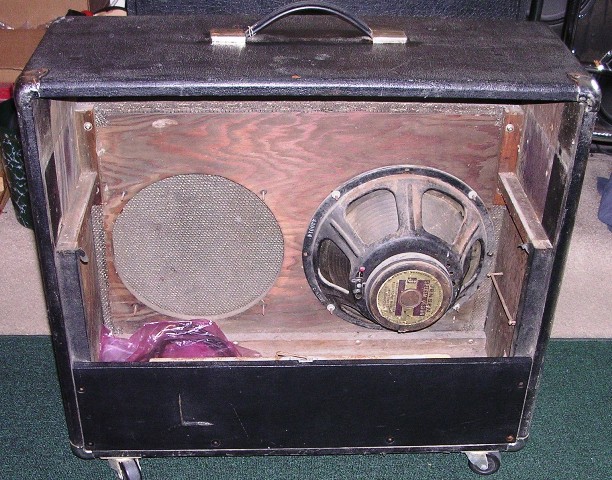
We start with this . . .
As much work as the chassis was, the cab was the most time consuming . Lots of SCRUBBING and CLEANING to get the tolex ready for glue. After testing, turns out the Jensen was toast. So, two new speakers would have to be added.
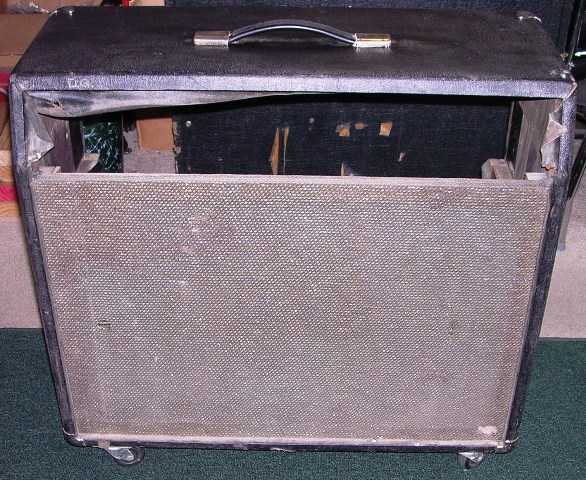
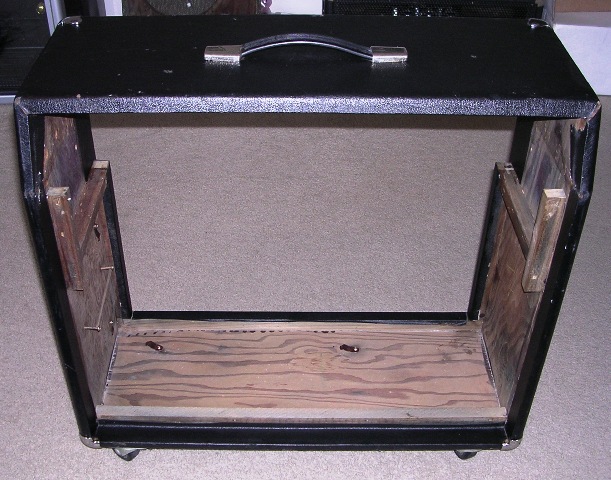
Front of cab
Lots of dirt and grime and missing logo as well.
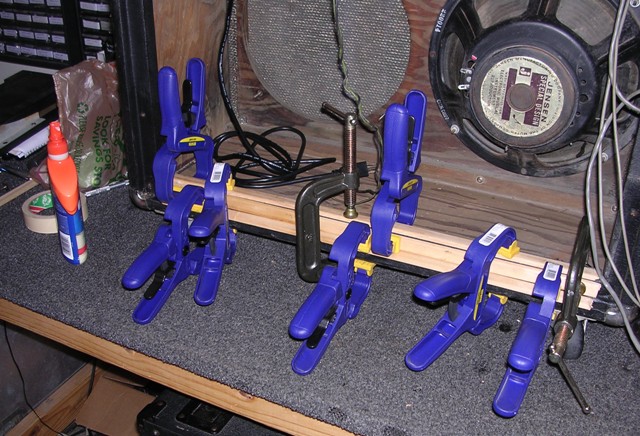
Clamps and glue
Getting started on the bottom inside of the cab. Using Elmers construction glue, squeeze clamps and wood screen-door trim to hold the tolex in place. Setup amd curing time is real slow this way, but it works and looks great when finished.
Ready for grille
Cab gluing completed. It took about a week to clean and reglue the cabinet. Once the scrubbing was accomplished on the tolex, I went ahead and used Armor-All Ultimate clean in small amounts on the entire cab. I used a toothbrush to scrub it in all of the crevices. I then wiped all of the excess off to keep it from looking too shiny. That gave it the correct cleanliness and patina when done.
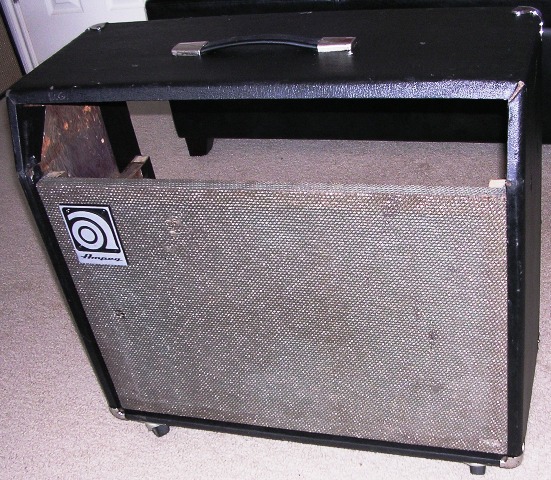
Cabinet finished
Cabinet done. Pulled the grille off and pressure-washed as best I could to clean without soaking the wood. I also added a repro logo. I had to trim and manually paint the logo screws black to match the originals. Just about done . . .
Ampeg GV-22 Restoration Page 5
Back to Homepage
DISCLAIMER: This website is not affiliated with FMIC, Ampeg or Marshall.